Book Creator

TDS Book Creator Pictures (1)

Torgon's Book and Magazine Creator

00 Updates

  • v2.0
    • More pages (tested up to several hundred)
    • No more notecards when printing / finalizing
    • Chapters
    • Page API
    • Change creator name
    • Change button styles
    • Texture importer
    • Book importer

01 Introduction

Welcome to Torgon’s Book Creator, the perfect tool for creating books, magazines, or product catalogs for SecondLife. With its user-friendly interface, creating stunning publications is now faster and easier than ever before.

These books weere created using Gimp for the pages, and the Book Creator for setting it up.

In this web-based product manual, we’ll guide you through the steps to create your very own book using textures. We’ll also show you how to add landmarks, gifts, or links to specific pages in your book. With the ability to insert, copy, move, and delete pages, your creativity is limitless.

You can view up to 40 pages at a time, but with the scroll function, you can access even more. Whether you’re using this tool for personal use or for your business, the Book Creator has everything you need to make your vision a reality.

Stay tuned for updates, as we’re constantly improving our product to make your experience even better. Start creating your masterpiece today with Torgon’s Book Creator!

02 Starting with an empty book

Oh how i hate that feeling, nothing in front of me but an empty book i want to fill.

Book creator, empty

But hey, how do i fill this thing? And what do all those funny buttons on the sides and the bottom mean?

Well, we’ll get down to it on the next pages, one by one.

03 How to add your first page

Well, but filling it is quite easy!

In the following screenshots i use the viewer’s prim edit mode, which is neither required nor recommended! I use it just to show the drop-areas on the book creator.

Empty book creator in edit mode (not required to use), before dropping the first page


Just drag a texture (full perm only, sorry) from your inventory to one of the page fields and let it drop there.

Empty book creator in edit mode (not required to use), after dropping the first texture


Why did i use the second page here? Remember, a book’s first page is usually the right one.
If you drop on the wrong field, the refresh button at the bottom will fix it for you!

04 Adding more pages

Adding more pages or replacing existing

Adding even more pages is as simple as adding the first one.

Just drag and drop them to one of the empty pages.

Or, if you want to replace one of the existing pages, just drop a new one there instead.

05 Selecting a page for more editing

If you want to do further editing with any of your pages you can click on it.

The selected page is then shown glowing, as you can see below on the second page.

Once selected, you can add details like landmark, objects, or links to the page. Or you can move it around, delete it, or duplicate it to make a double page.

06 Inserting a new page

If you want to to insert a new page at any point in your book please select the page before which you want to insert the new page.

Once selected, click on the button in the right hand menu, and a new page will be inserted and the later pages will be moved down. Initially, that empty page will show the logo until replaced by you.

07 Deleting a page

If you want to to insert a new page at any point in your book please select the page before which you want to insert the new page.

Once selected, click on the button in the right hand menu, and a new page will be inserted and the later pages will be moved down.

08 Moving a page

To move a page, first select it

Once selected, click on the button in the right hand menu, and the page will be move forward one place, swapping its position with the previous page.

Moving the book further to the right, it’ll move to the back of the book

To move a page backwards in your book please select the page.

Once selected, click on the button in the right hand menu, and the page will be move backwards one place, swapping its position with the following page.

The page can not be moved beyond the end of the book.

09 Double page / full width image

Once selected, click on the button in the right hand menu, a copy of the page will be inserted right after the selected page. Once printed, these duplicate pages will show as one full-width image.

If you have two identical page textures next to each other they’ll be printed as a continuous double page. If you want to duplicate a page in your book please select the page.

10 Even more pages – display filled

While you add new pages, you’ll see the page counter on top increasing. The creator can show a maximum of 40 pages at a time.

If you want to add more pages to your book, you need more space…. By clicking on the arrow the display scrolls down one row of 8 pages. On the image below, you can see that the display then shows the pages starting at page 16 after scrolling two rows down.

Scrolling one row back up with the arrow, it now shows pages starting with page 8.

11 Printing

Your book looks all nice and pretty on the creator, but thats hardly a book?

Well, just hit the print button!

If you rezzed a book from the creator before, the creator will print its content to that book. Otherwise, after a few seconds delay, it will rez a new and empty book and use that as print destination.

You can now click that book to flip the pages, or take it and add it as a hud.

Resizing the book can be done using normal prim editing tools, but you can not change the width/height (aspect/ratio) of the book in an easy way.

12 Printing other book styles

So you got your first book printed, but are there more variations to the look? Yes

Clicking on the menu button, you get the creator menu, where you can click on “Rez book”. That will rez a new, empty, book from the list of available types.

Once you rezzed a custom book, you can then use the print button as before. With a book present, it’ll automatically target that rezzed book.

Based on the supplied book types, you can do custom variations too. Those, you can then add into the creator to be available for printing.

13 Restoring a book

You created a book, and went on to the next book, only to discover you want to change something on the old one?

No problem, just rez the old book next to the wall, open the menu and click on the “From book” option.

The creator will then restore its settings from the book’s data, and you can continue editing.

One thing you might have to do, though:
In the originally rezzed version of the book you’ll find two different scripts, “Torgon’s Book” and “Torgon’s Book Editor”. If you finish your book, the “Torgon’s Book Editor” script will be removed to make the book transferable. If you want to restore the data from a finished book, you’ve got to re-add that script!

Then you’ll be back to normal editing.

14 Publishing / finishing your book

Everything done? Gratulations!

The final step to complete your book is to finish it.

Why?

During editing, there are two scripts inside the book, “Torgon’s Book” and “Torgon’s Book Editor”.
“Torgon’s Book Editor” is not transferable because it is only needed during creation. It has to be removed once the book is completely finished.

To remove it from the book’s content you can go to the Creator’s menu and select “Finish”, once thats done the book becomes transferable and you can give it away.

The finished book has copy / mod / transfer permissions on the mesh, and copy / transfer permission on the script inside.

You can change the next owner permissions using the normal viewer editor tools, e.g. to make your books no copy, no mod, or no transfer.

15 New book – clear the editor

I’ve got enough of it, i don’t want to see it any more!

If you click the menu, there’s an option to clear the whole wall and reset it to its original, empty, state.

16 Advanced magic for beginners

Pages, Pages, lots of pages…. Thats all there is?

Naturally not. This is SL after all.
You can add Landmarks, Gifts, Links to a Marketplace store, and Links to a website to each single page, or divide your book into chapters. You can even call external scripts on the click of a button.

To do that, please rez a book next and put those items into the book !!!

They do not belong into the wall, after all, they’re supposed to be given out by the book later.

16.1 Adding landmarks

So you want to add a landmark to a page?
Drop the landmarks you want to use into your rezzed book first. Select the page by clicking on it, then click the Landmark button in the bottom button bar. A dialog will show that allows you to select a Landmark, click on one, then select “Ok”.

The Landmark button on the Creator will highlight if there is a landmark linked to this page. Done!

To remove it again, click the Icon, choose “Clear” from the dialog, click “Ok”, Done!

Once printed, the landmark icon will show up in the final book on the respective page

16.2 Adding gift (objects)

Adding gifts to your book’s pages is as easy as adding a landmark.
Drop your gifts into the book’s inventory, click the give button on the bottom button bar, and select one or more items to give.
Once you click OK you’ll see the give button highlighted.
As with landmarks, to remove items from a page just click the button again, select “Clear” from the dialog, and “OK” to remove them.

Once printed, the gift icon will show up in the final book on the respective page

16.3 Adding Marketplace links

You can add a link to a marketplace entry to each page.

16.4 Adding web links

You can add links to a website to each page

16.5 Adding chapters

You can assign chapter markers to each page.

These chapter markers allow jumps to specific pages in your book through the chapter menu.

16.6 API calls

You can add a call button for an external script to each page. A sample receiving script is in the magazine book, or below the images.

default
{
    link_message(integer link, integer page, string message, key id) {
        if (message == "function") {
            llOwnerSay("page: " + (string)page + " function parameter: " + (string)id);
        }
    }
}

17 Make it your own

Beyond adding pages, and content, there are some more things you can do to customize your book and make it just your own.

17.1 Customize buttons

In the Book Creator’s inventory, you can find 4 textures. Two ending ” default” and two ending with ” red”

Book Creator content

Those textures are samples for the button texture on the side of your book. The ones ending with “default” are the textures the book creator uses as a standard.

Default buttons bottom

If you want to change the buttons to all your own, you can download these templates and change the icons.

Turn them all red, for example

If you then put that modified version back in your Book Creator and rename it to either “buttonsBottom” or “buttonsTop”, respectively, those textures will be used from the next print onwards. You can swap out one or both.

Once printed, the new buttons are used:

17.2 Change creator name

By default, if you inspect the created book, it will show “Torgon Woodget” as the creator. You probably don’t want that, so make it your own!

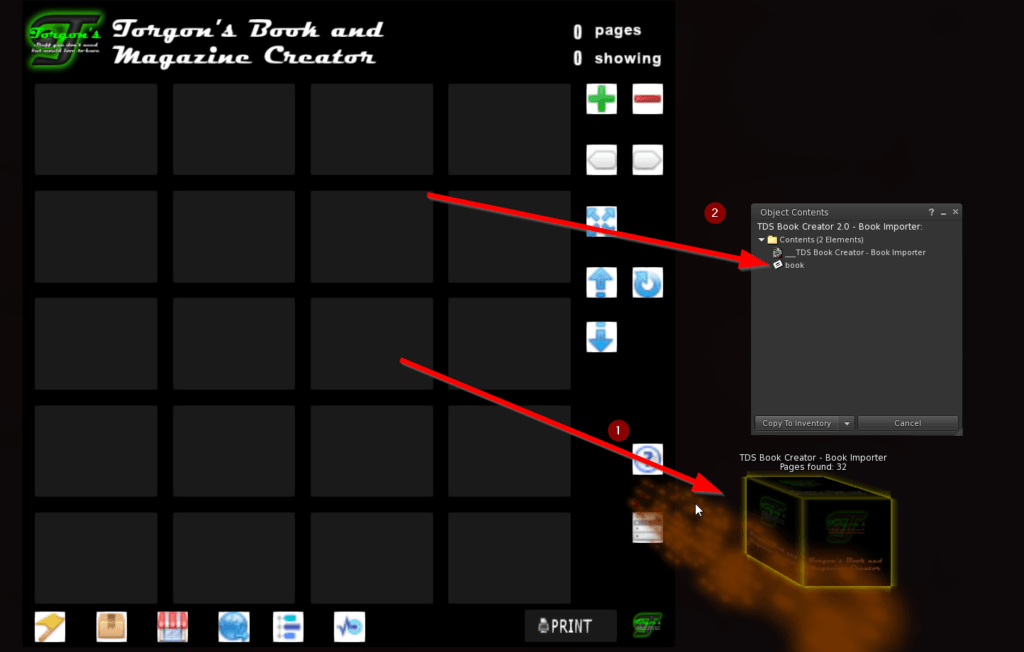
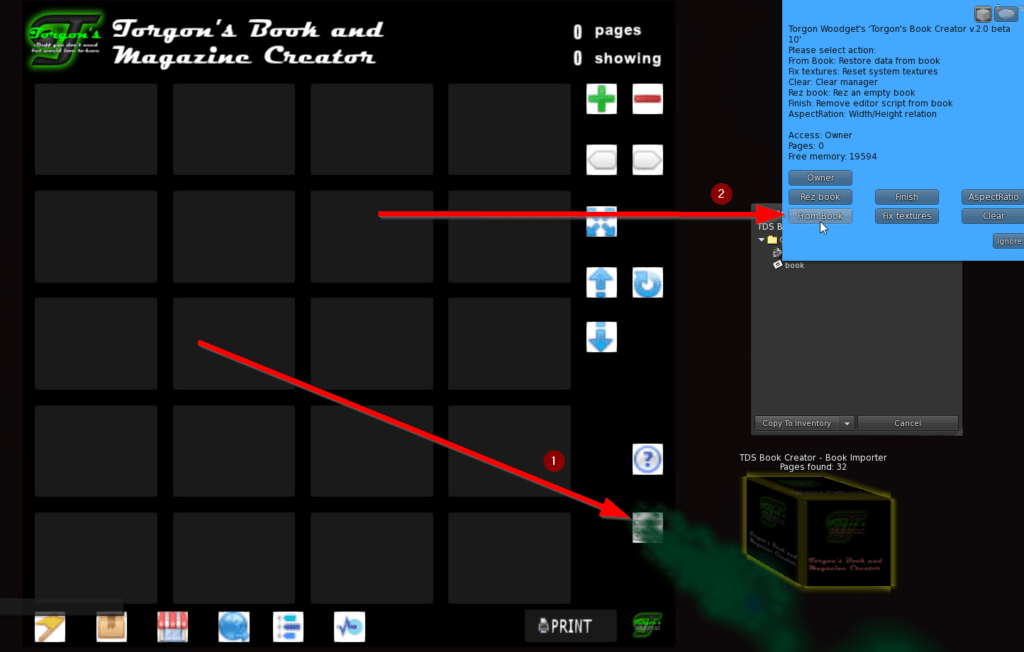
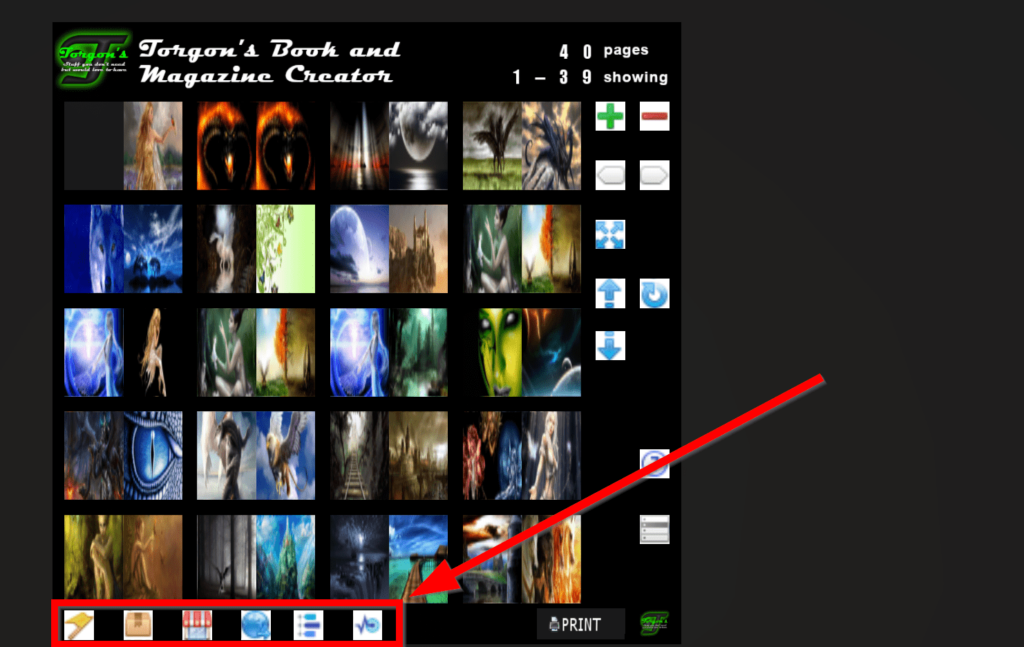
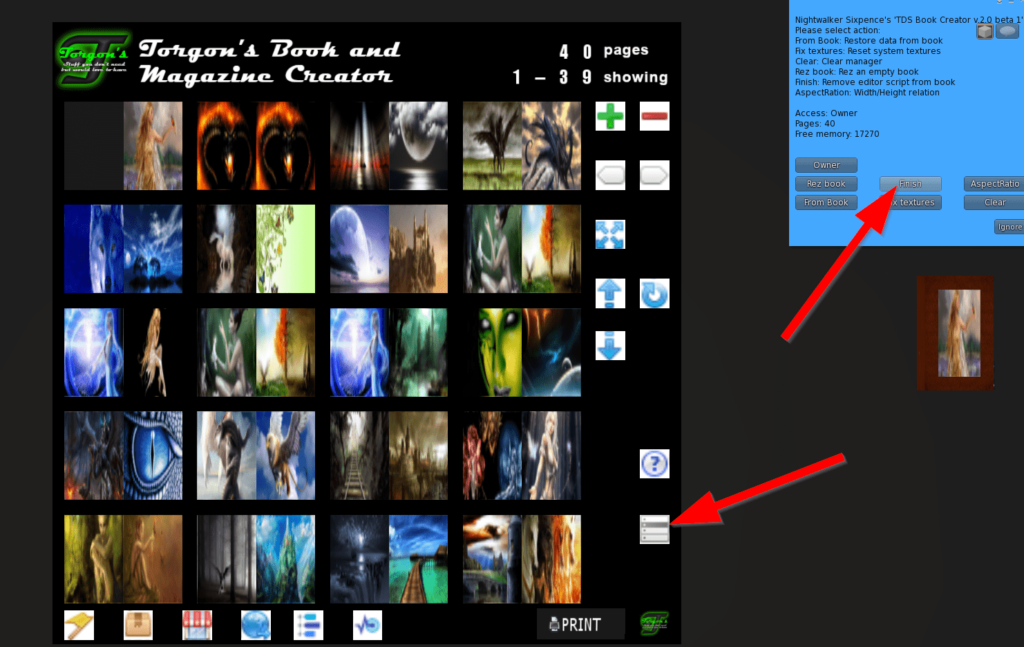
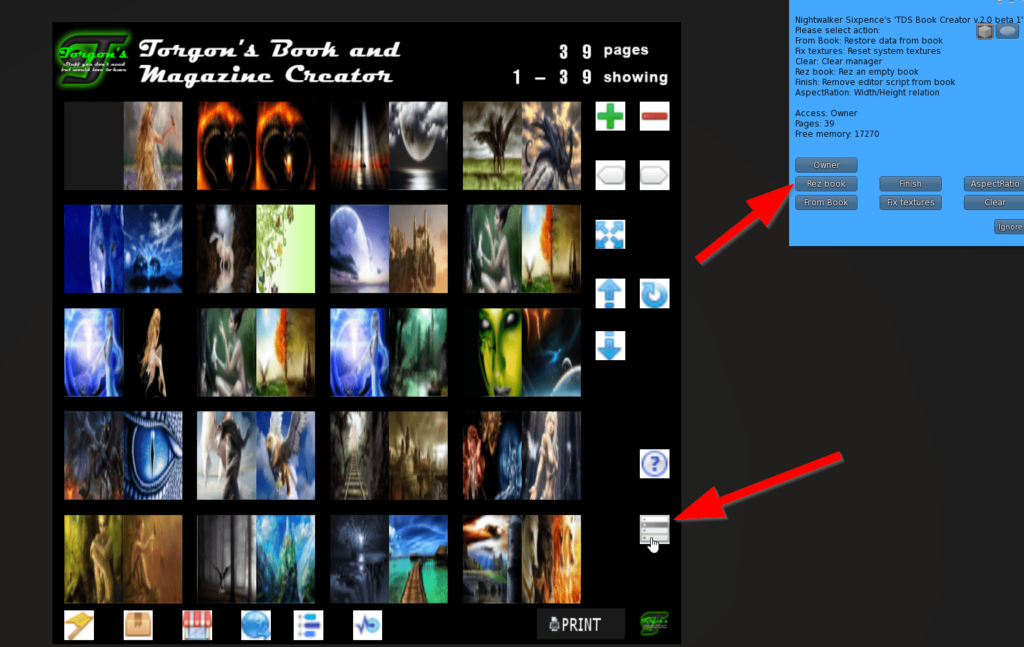
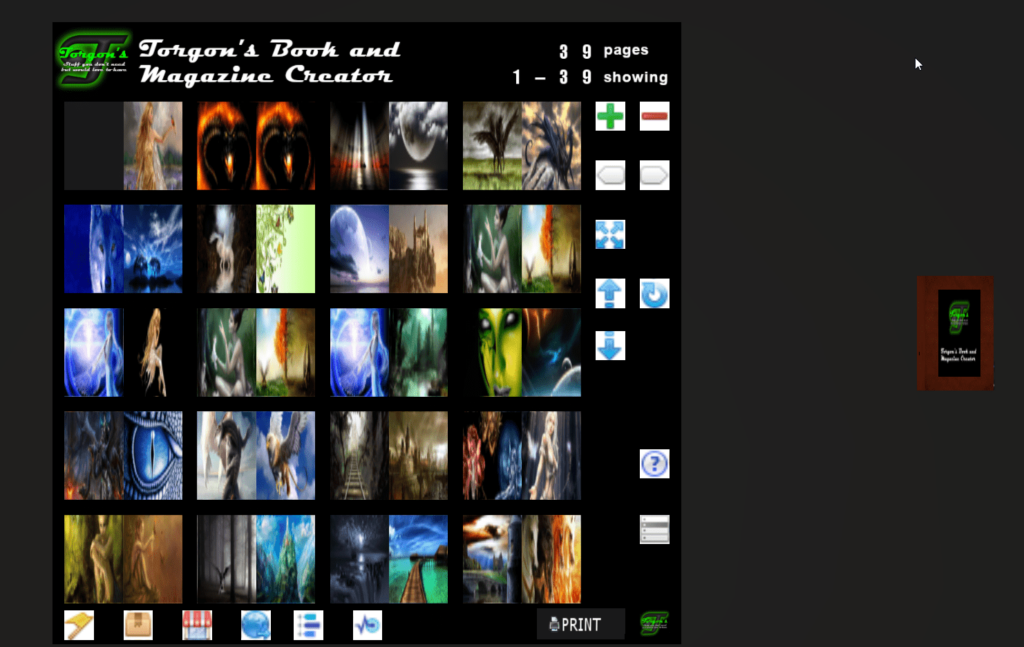
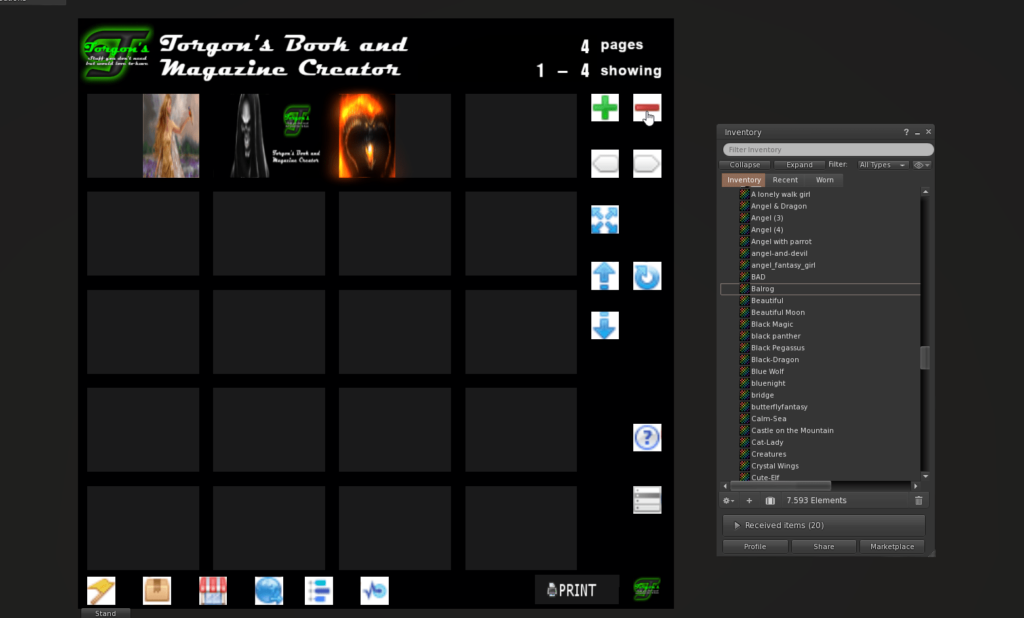
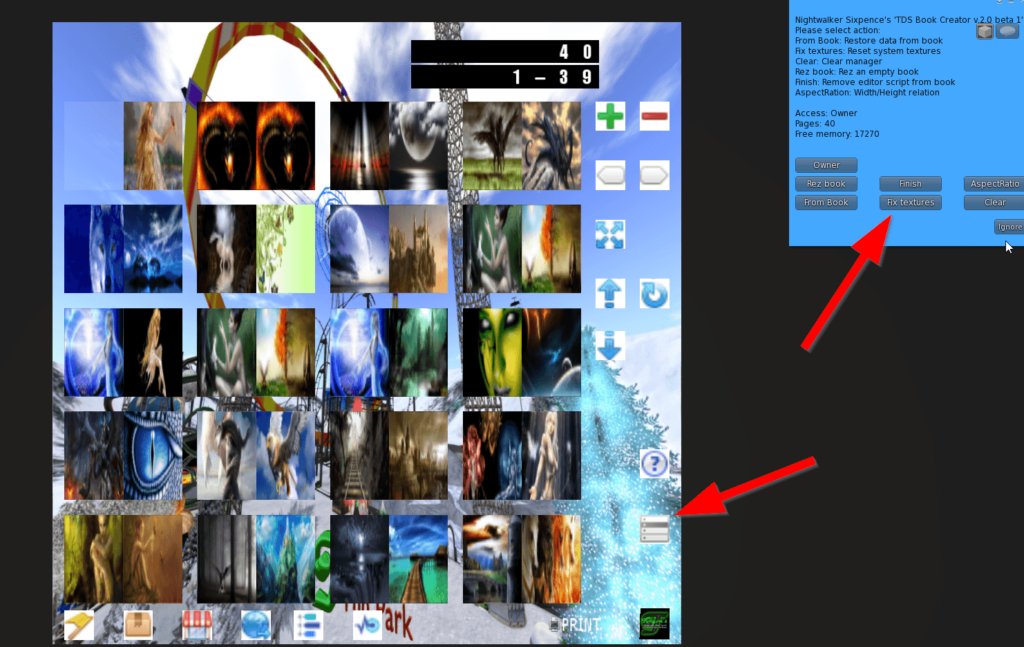
To start, rez an empty book from the book creator using its menu and “Rez book” function.

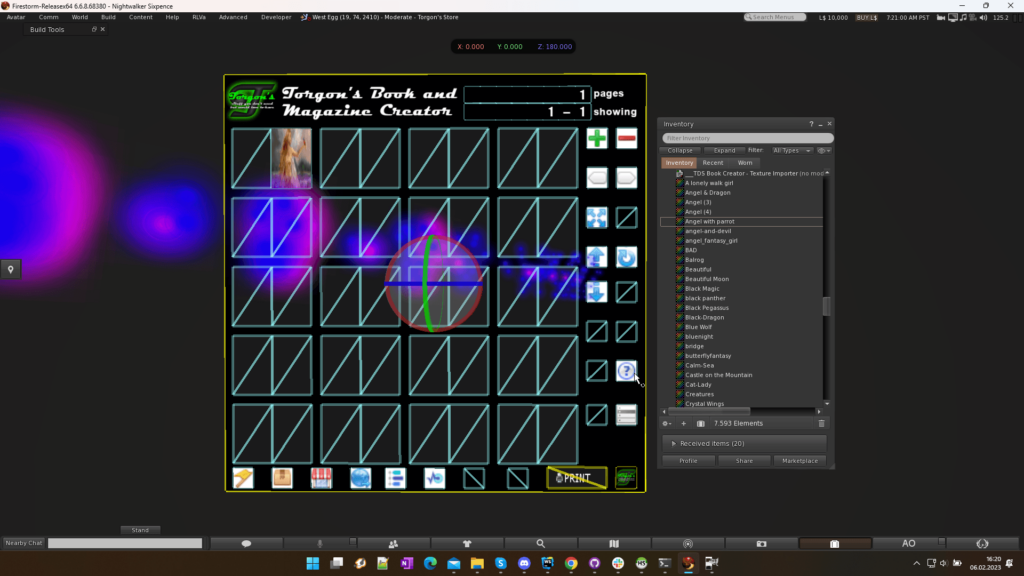
Now, set your viewer to show transparent parts ( ALT-CTRL-T on windows ) so you can see all the bits and pieces of the book.

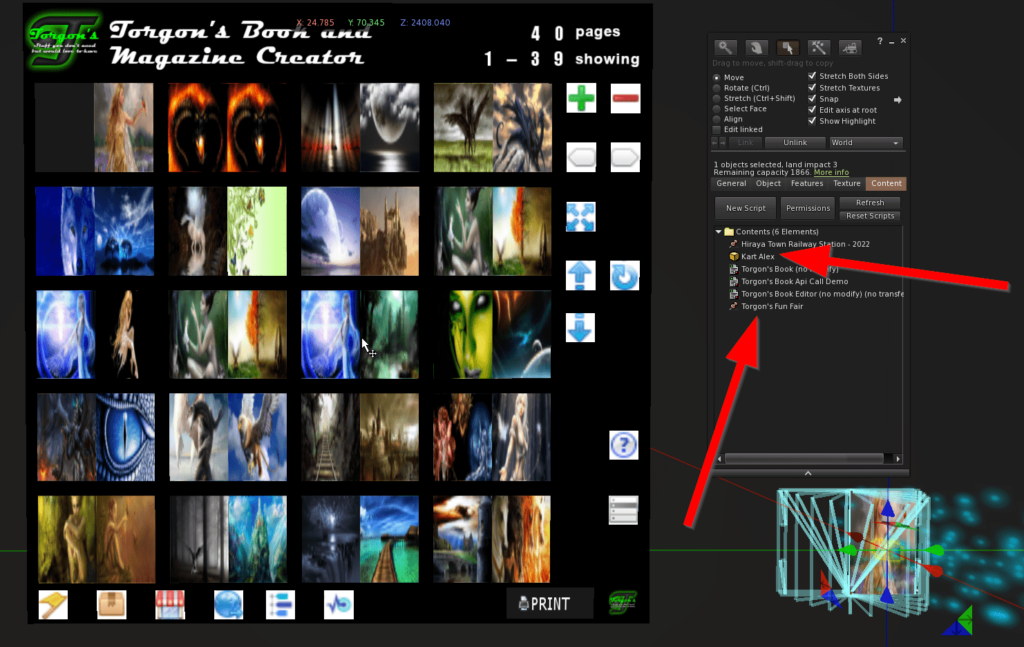
If you look closely, you will see a small cube in the middle of the back. Once you go into edit mode, your viewer should highlight that cube because its the root prim of the book.

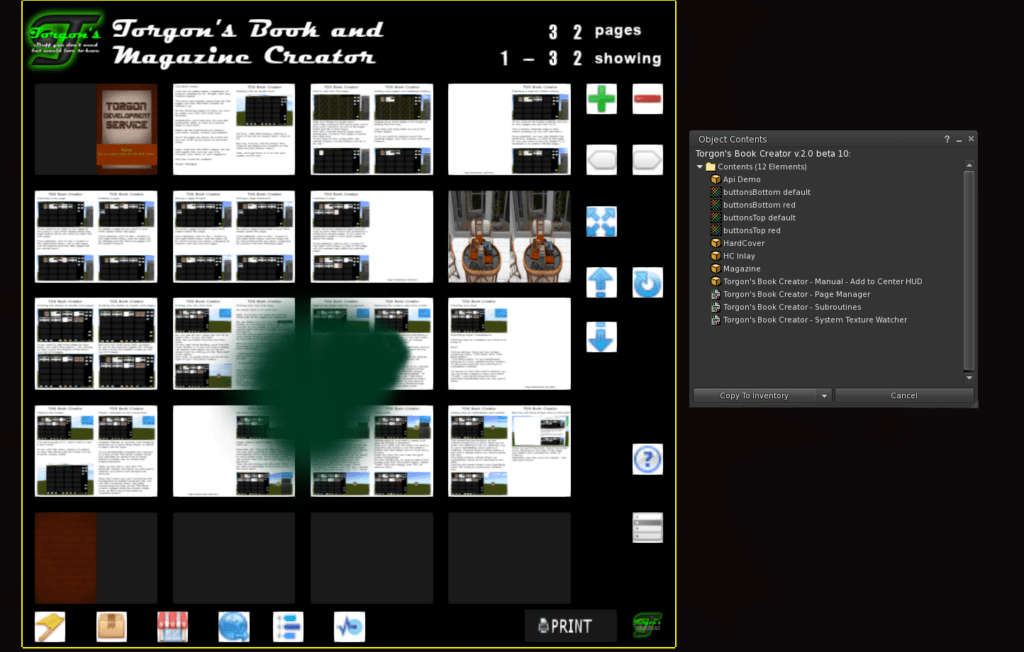
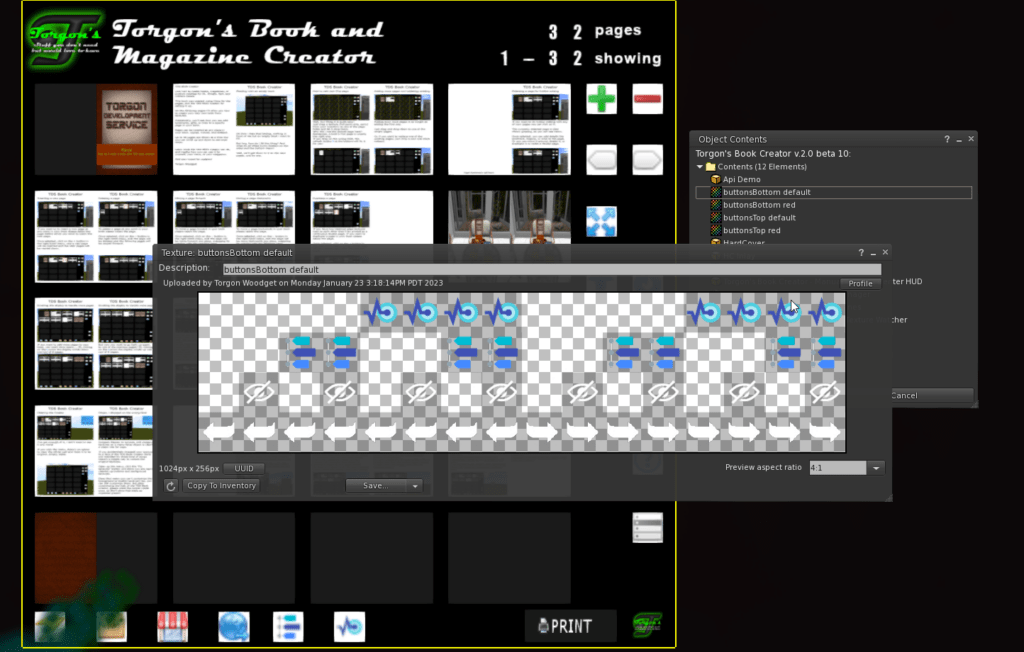
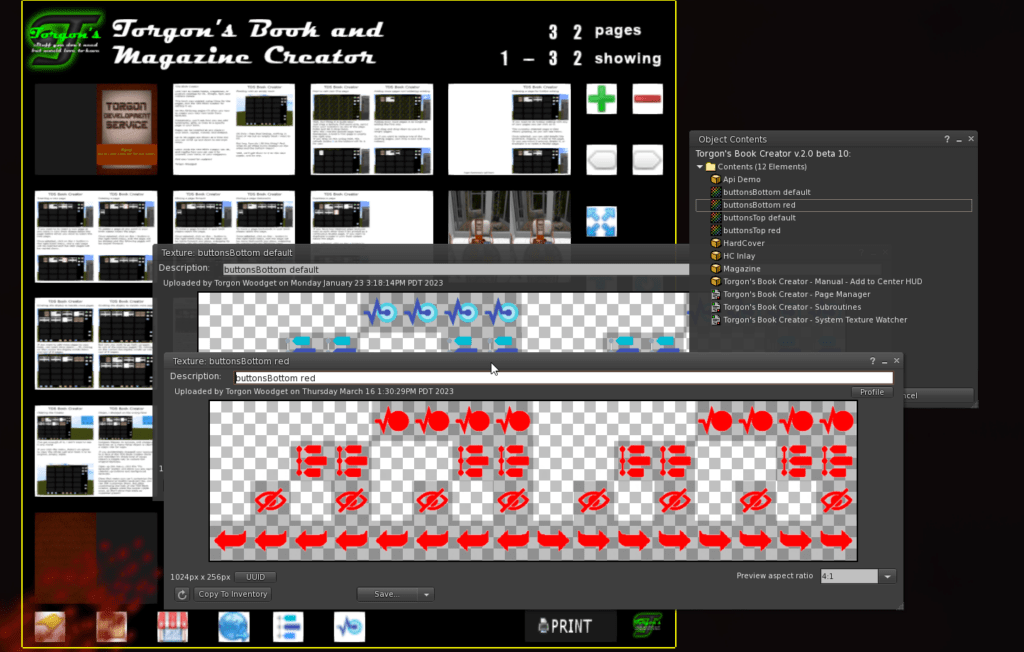
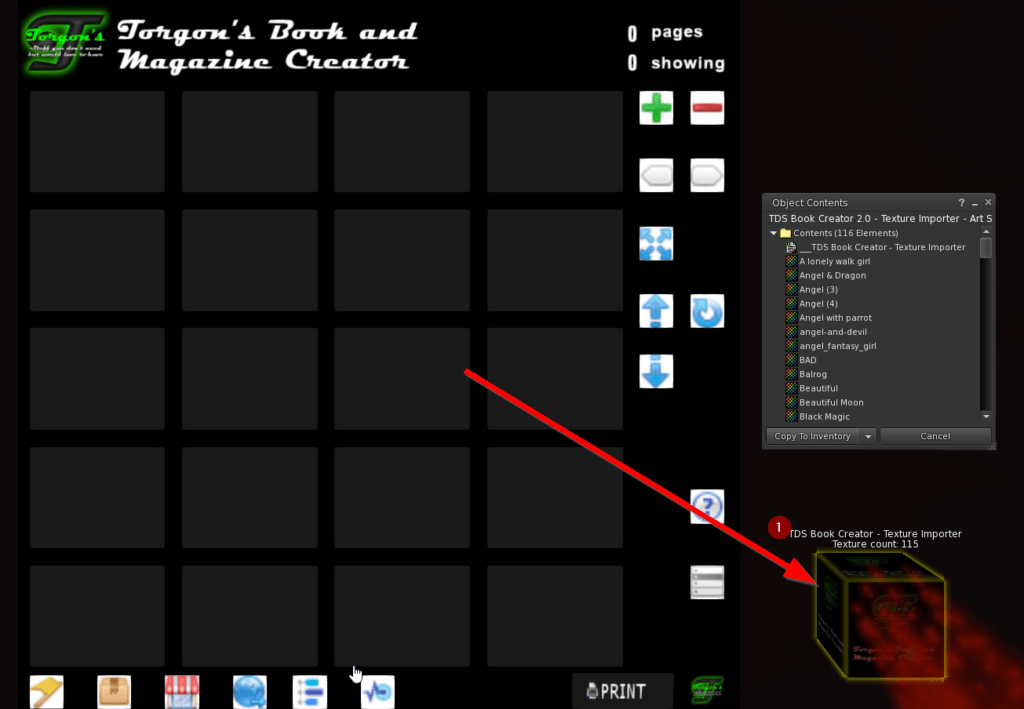
The book contains a few scripts. Copy those scripts into your inventory.

Now rez a new prim, a cube, and make it about as big as the small cube in the book. We will use this newly rezzed cube as the root prim for the book, so it will show the cube’s creator as the book’s creator.

Edit the book again, and unlink it ( menu Build – Object – Unlink ). Remove the original root prim and put your own in the same position.

Select all parts of the book, except for the original root prim. Make sure that you select your new cube prim last !

Link the book back together (menu Build – Object – Link ). The linked object will now show you as its creator.

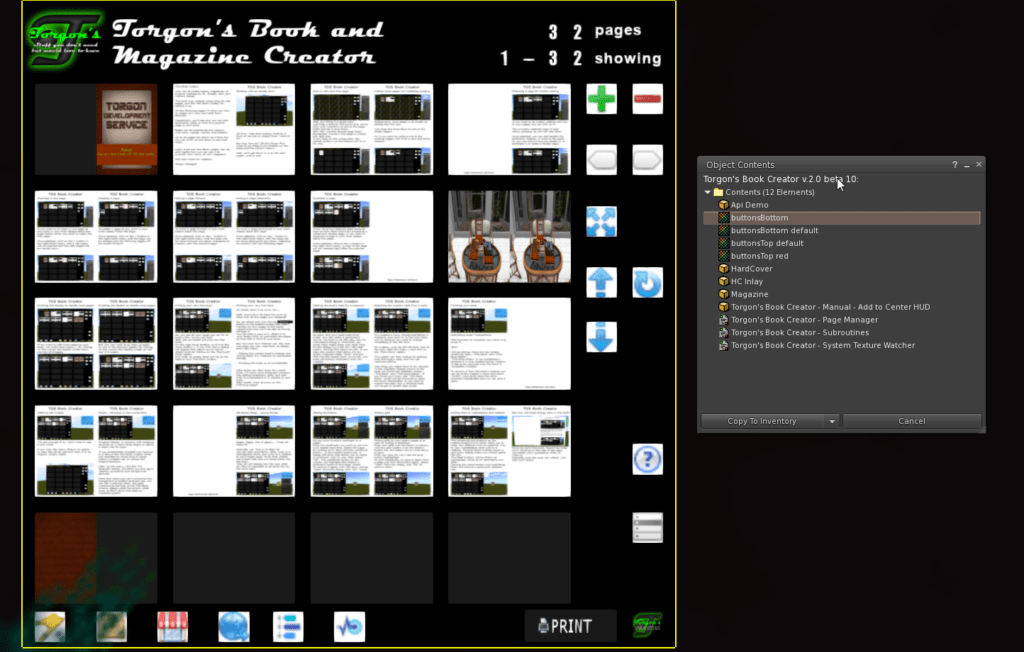
Put the scripts back into the book.

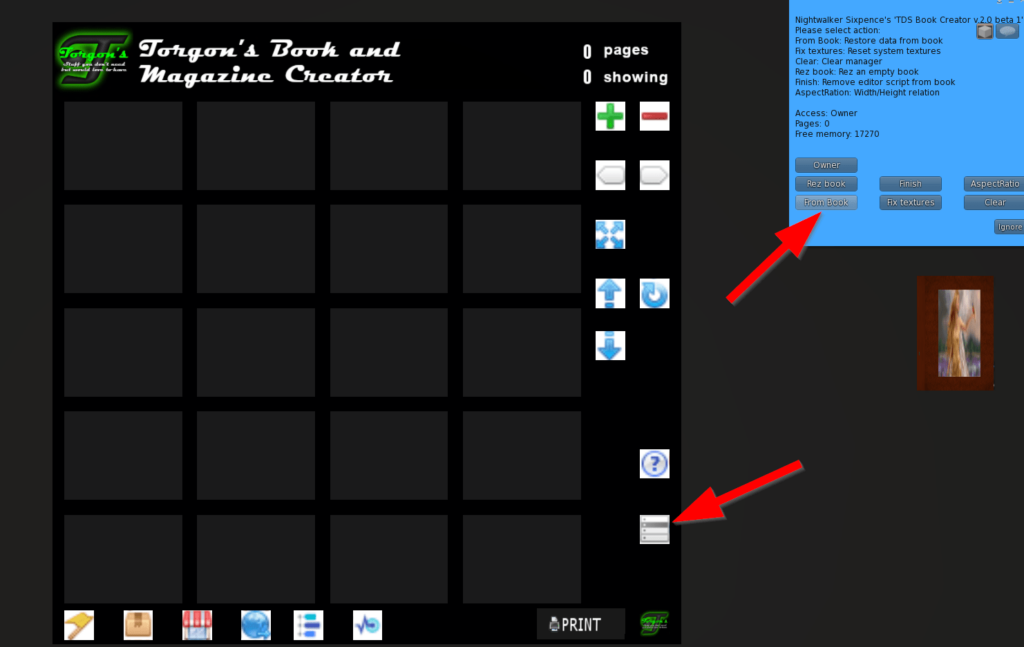
Give the book template a new name.

Pick it up, and drop it back into the book creator.

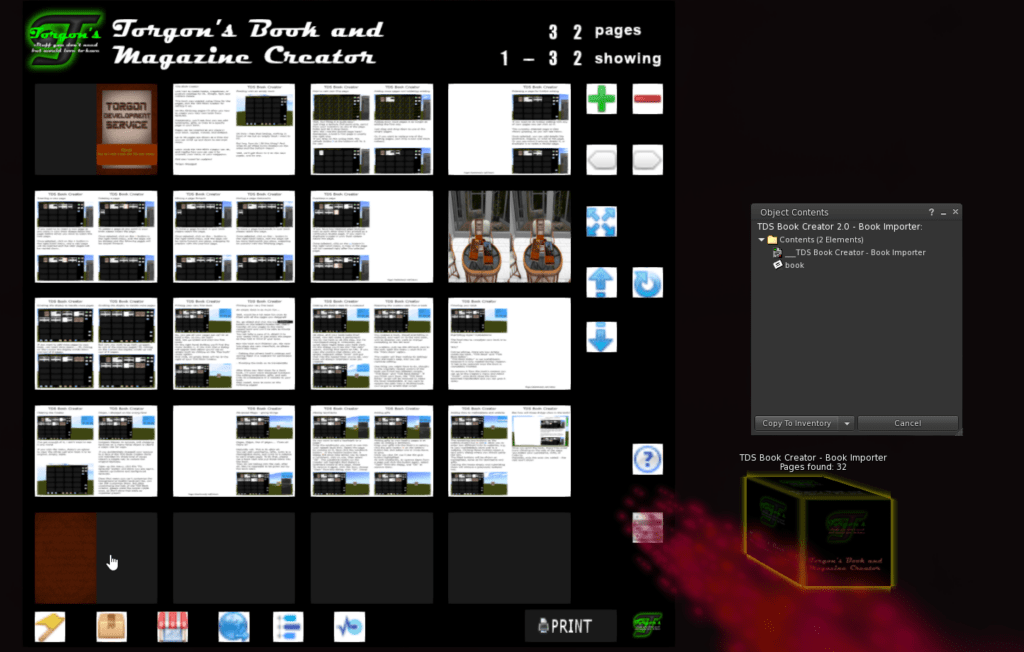
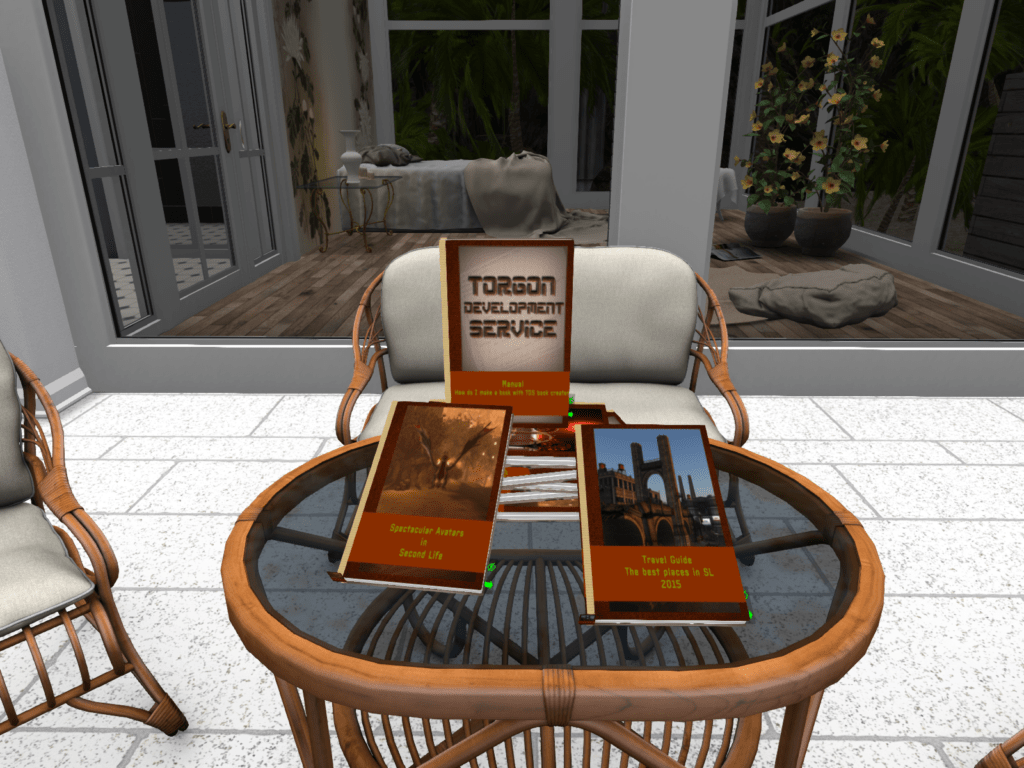
Now you can use your custom book to print books and magazines under your own name.

If you name your book template “Magazine”, replacing the already existing one, it will be used as the default book template if you print without rezzing a book first.

18 Make it simple, use the Importer

With your Book Creator, you received two Importer boxes, one for textures, and one for books made with the previous version.

18.1 Texture importer

The texture importer is a handy little tool to load a bulk of textures into the creator at once.

Drop your textures into the importer prim and put it next to the book creator

Texture importer

As you can see in this screenshot, the importer shows the number of textures loaded. 115 in this case.

Now use the Book Creator’s menu and the “From Book” function there.

Use the menu and “From Book”

Once activated, the Book Creator will show a load of log messages, telling you how many textures it has imported.

After all textures are imported, the new book will show on the panel:

Filled Book Creator

Please note: The textures will be imported in the order they show in the importer’s inventory. If you want your pages in the right order from the start, you can easily name them in order.

18.2 Legacy book importer

If you already created your book using the Book Creator 1, here’s your path to the future.

Rez the “Book importer” prim next to your Book Creator, and put the “book” notecard from your version 1 book into the content.

Book importer

As you can see, the importer now shows the number of pages in your book.

Now use the Book Creator’s menu and the “From Book” function there.


Use the menu and “From Book”

Once activated, the Book Creator will show a load of log messages, telling you how many pages it has imported.

After all pages are imported, the restored book will show on the panel:

Filled Book Creator

Please note: You have to manually copy all items/landmarks/etc from the old book to the new creator’s book. This function will only transfer pages, not additional content!

Troubleshooting

Ooops, i dropped it on the wrong face

Ooopsies happen to anyone, and dropping textures on a many-faces object is clearly a major risk for oops.

If you accidentially dropped your texture to a face of the TDS Book Creator thats not intended for those kind of ooops there’s a simple way to restore the original textures.

Open up the menu, click the “Fix textures” button and there you are again, cleaned up buttons and background textures.

Does that mean you can’t customize the background or button textures? No, you can still customize them. But after customizing the look of the Book Creator, please reset the scripts inside once, so the’ll store that state as expected preset!

The trouble with troubleshooting

sometimes, trouble shoots back!